Bookings in a tool available through Office 365 that allows you to create a webpage where users can book time on your Outlook calendar. It allows you to restrict the scheduling to specific days/time periods (such as during office hours), as well as set limits on the length of appointments, and how far in advance users must schedule (i.e. at least 24 hours prior to the appointment). It is also possible to create Bookings calendars for groups, so that users can book time with whomever is available on the day/time they want to schedule. See Microsoft Bookings for more information.
- To get started with your Bookings calendar, go to https://office.com; if you aren't already logged in, do so using your StarID@minnstate.edu and password.
- If you don’t see Bookings, click on waffle icon in the upper left corner of screen.
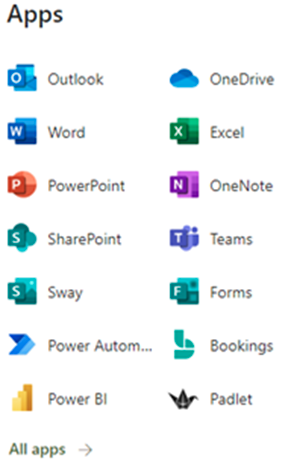
- Click on Bookings icon. If you don’t see Bookings, click on All apps to see the full list.
- Next, click on Get started.

- If the option is available, click on Try the new Bookings.

- In the lower left of your screen click on New Bookings Calendar.

- Click on Create from scratch.

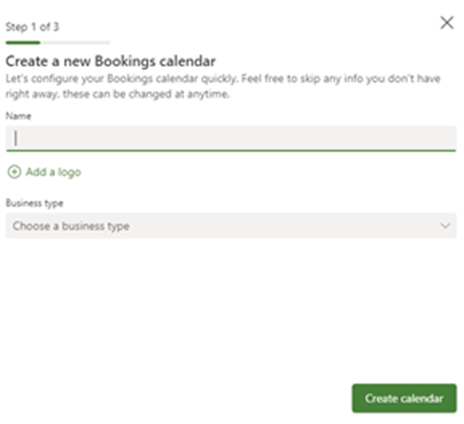
- Type in your Booking Calendar name in Name field and then click on Create calendar.
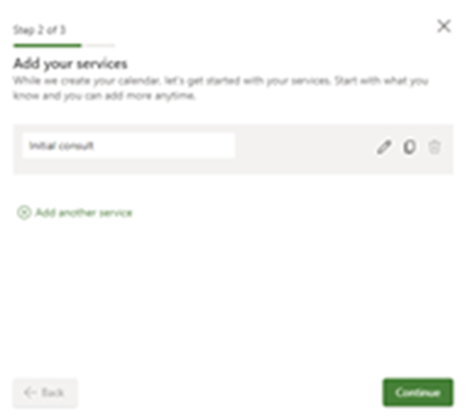
- Edit Initial consult service field along with the Service Duration etc. and then click on Continue.

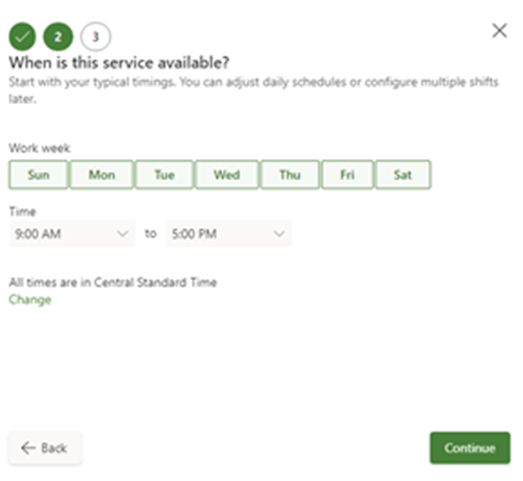
- Now you can adjust your Work week along with Time etc. clicking on Continue with finished.
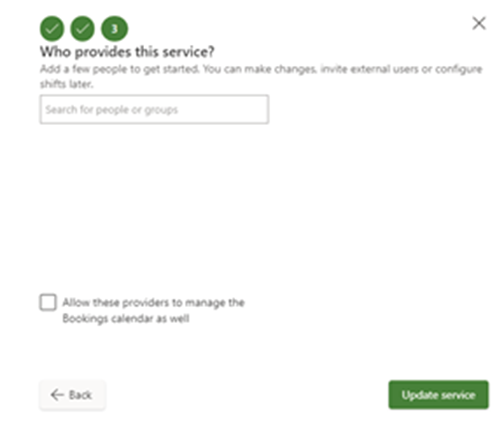
- Select service providers using the Search for people or groups search field and then click on Update service and then Continue.

- Choose who can book appointments and then Complete setup.

- Click on Get started.
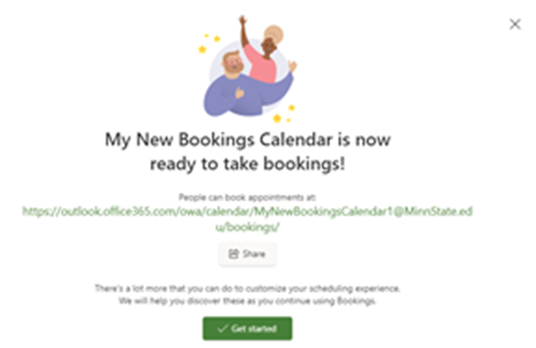
- Please note in the left pane window Calendar, Customers, Settings and the FILTERS to continue customizing your Bookings calendar.

- Congratulations on creating your first Bookings calendar!