Article Type: How To
Response:
- In some specific classrooms, the Elmo document camera output is routed through the instructor station PC. Instructors using these classrooms will be notified, so that they can continue to teach in the room.
Steps:
- Steps for operating instructions for modified rooms.
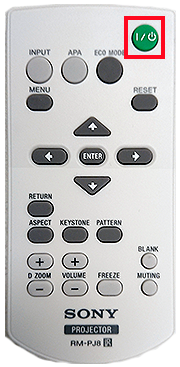
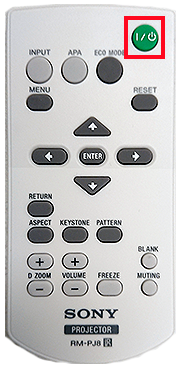
- Use the provided Sony remote control to turn on the projector using the green power button.
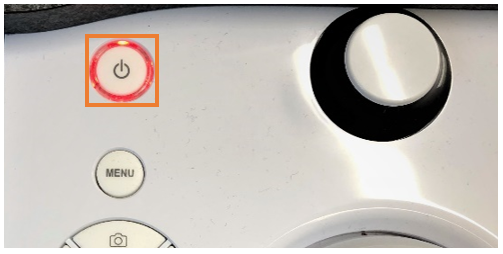
- Turn on the Elmo document camera by pressing and holding the power button until the light turns blue.
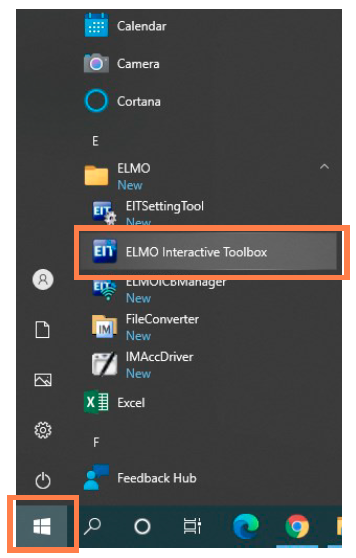
- On the PC, launch the Elmo Interactive Toolbox (EIT) software. There should be a shortcut icon on the desktop, or you can select the program under the Windows menu.
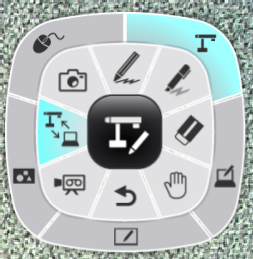
- Use the top two buttons on the main software control to switch between Document Camera and PC Operation.
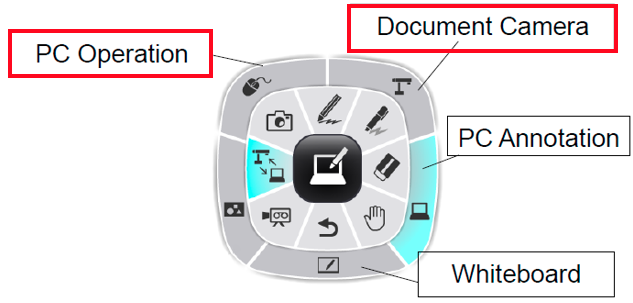
a. Click and hold the center (black) button on the control to be able to drag it to a new location on the screen.
b. Clicking the PC button (mouse icon in the upper left) will minimize the EIT control so that you can operate the PC as you normally would. The EIT control can still be moved around on the screen by clicking and holding on the center (black) button of the control.

To return to the larger EIT control, click on the small document camera icon to the lower right of the smaller EIT control.
c. Clicking on the document camera icon in the upper right of the larger EIT control will bring up the image from the document camera, and display that full screen on the PC.
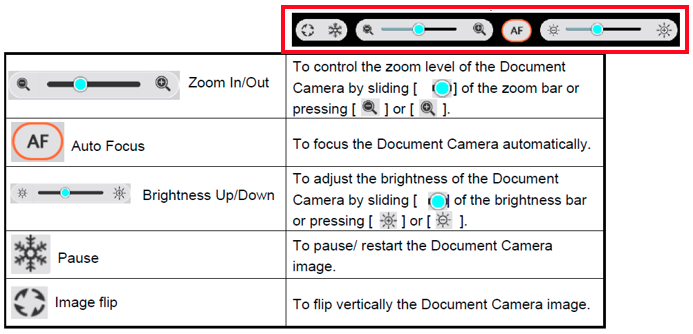
- Use the document camera operations buttons to adjust the brightness, zoom in/out, pause the image (i.e. freeze), etc.
- When you are finished with the document camera, use the red X button to exit EIT.

- When you are finished using the room:
- Sign out of the PC.
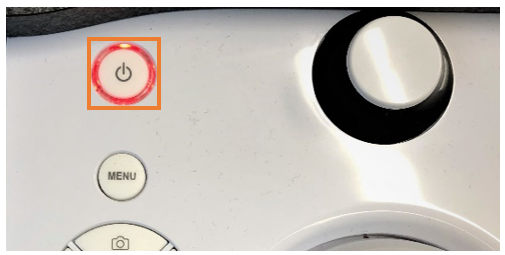
- Press and hold the power button on the DocCam until it turns orange.
- Use the Sony remote control to turn off the projector.
Summary:
How to operate Elmo document camera in classrooms.